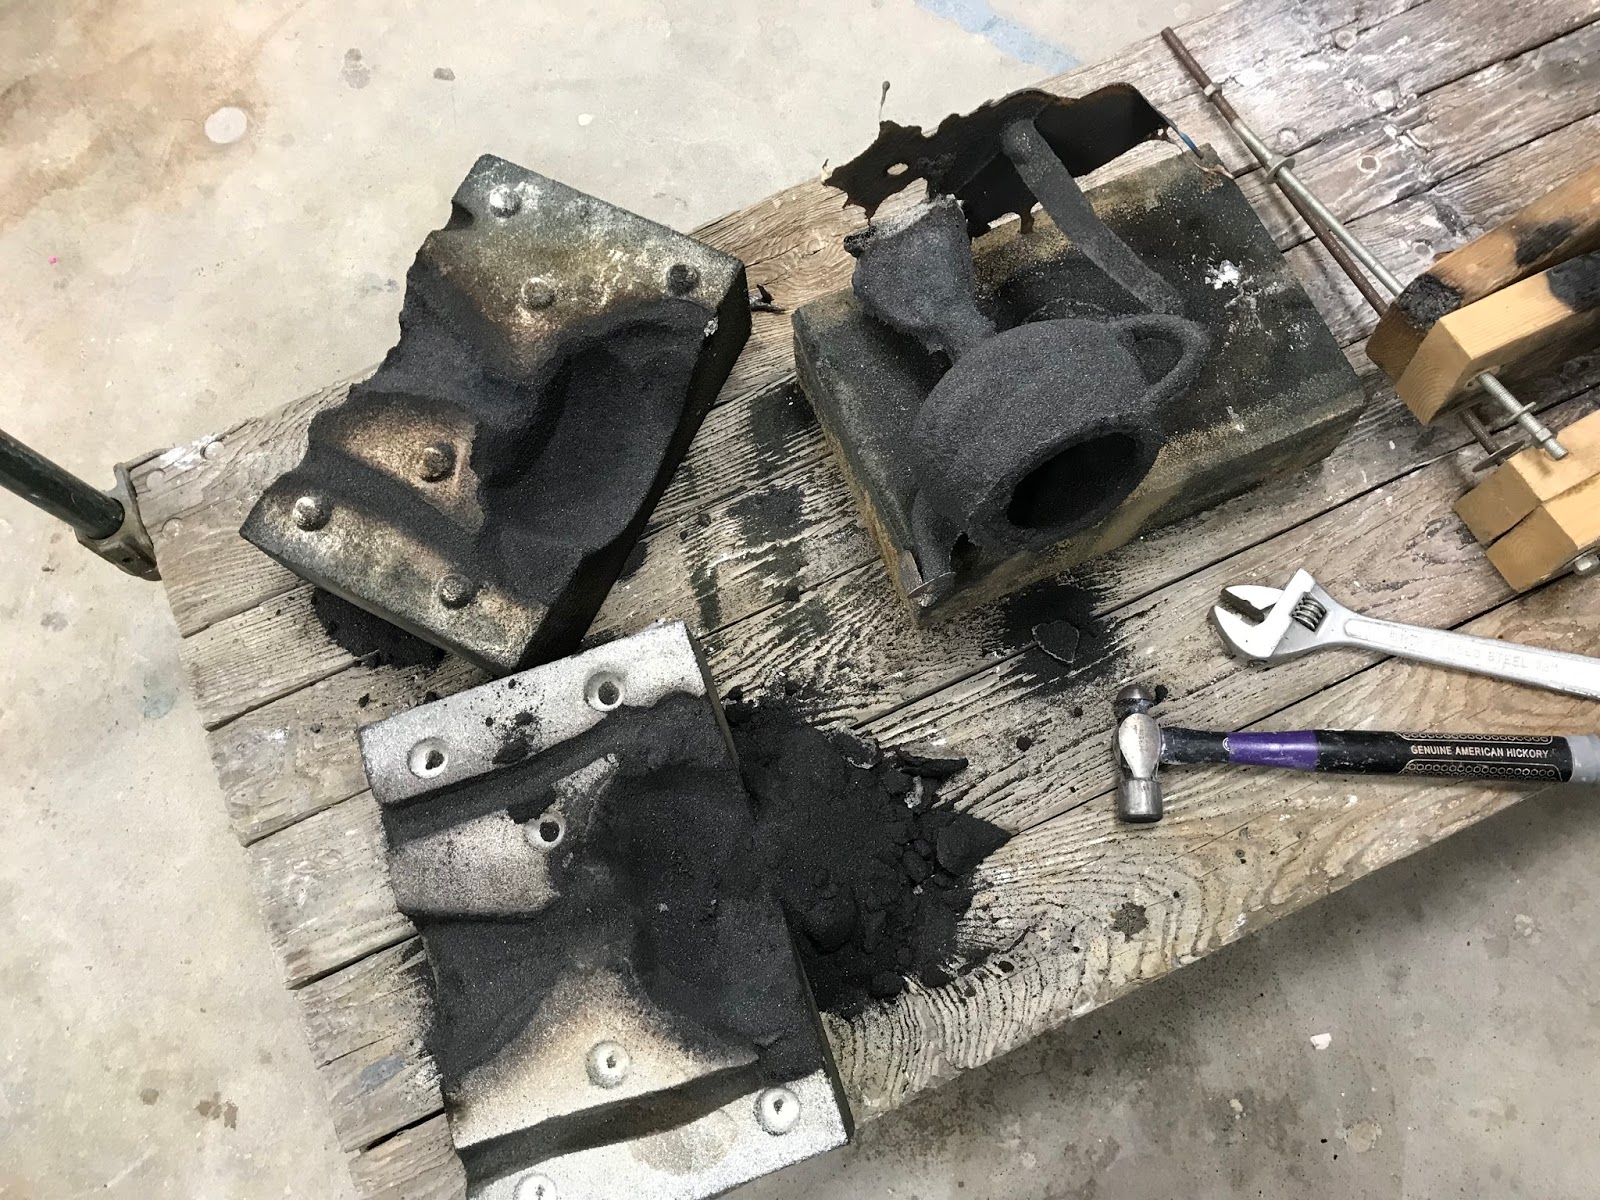
Travis helped me pour the bronze for my Utah teapot molds during the week after the Fall semester ended. I really appreciated his help in showing me the furnace controls at AppState. The McEnglevan furnace operation is pretty much just like the three we had at UWM. The pour went well and was uneventful. I was trying to channel Chuck Kraus as I was pouring. He would never spill a drop outside the mold. As you can see, I didn't manage that, but I was still glad that the riser came up strong and the molds didn't leak. I hate using these wood clamps for sand molds; I guess I was spoiled by steel bands at UWM. As I mentioned before, the sand molds were not solid enough so I ended up with a ton of burn in. That said, I was wanting to experiment with texture in the sand, so I guess I fulfilled that. The investment molds ended up with a lot of flashing, but I really was thrilled with the patterns left from this. I knew right away, that this was going to work out well in the final form. I cut the sprues off at school and then came home to finish the grinding at my home shop.
I am so thankful for those year of pouring with Chuck and grateful for all the knowledge he shared with me during my early years at UWM. I owe him so much! Every time I walk past our Foundry I am reminded of his influence on me and my work. I am also so thankful for my new colleague, Travis Donovan, and his willingness to provide advice and a positive outlook on literally everything. I look forward to working with him for many years to come!
I've been working on a series of teapots based on the Newell or Utah Teapot by Martin Newell. I had previously made some molds for casting the teapot in iron at Sloss, but had some issues with the way I made the mold. I During the casting processes the core had separated from one part of the mold and floated inside the mold thus making the bottom of the teapot paper thin. I decided to try two different ways of making molds for the teapot this time. For one method, I used resin bonded sand (as I had for the iron version of the teapot), but I made the parts of the mold in a different order hoping the the core would bond strongly to the first mold half. I had trouble with our particular resin again this time, regardless of cure time. It just didn't set up as hard as the resin that I used in Milwaukee. For the interior core of the spout to turn out, I need the sand to set up really hard and be strong. Even after a day of curing, the sand was simply too soft. I forged ahead though. I also started an traditional investment mold as the advice of Travis. I could do a direct burn out on the 3D print and be certain that the core would stay intact. My intent is to eventually carve into the sand to be able to build textured surfaces into the teapot by carving the mold, so the investment method wouldn't give me quite what I wanted, but it would allow me to realize the teapot in bronze for the first iteration. I moved forward with the prep of both molds. Since the spout core cracked, I improvised with an investment core that I reinforced with a steel rod. In total, this was about a weeks worth of work in the week following the end of the semester. There was a lot of activity in the studios at school, with surprisingly a lot of faculty still present in the studios. I finished the molds by the end of the week and was ready to pour right before we were planning on leaving for Illinois for Christmas. These tests will hopefully lead to a series of new work based on my experiments with investment and sand molds utilizing the 3D prints.